Vibe Coding - Conversational Software Development - Part 3 Prompt Discipline
Discover how AI is transforming software development in Part 3 of my 'Vibe Coding' series. Explore conversational coding, code generation from prompt, and the future of developer productivity.

Introduction
It is speculated that vibe coding could fundamentally change how we build software. Instead of writing lines of code, we will describe our goals in plain English and working software will be generated in response.
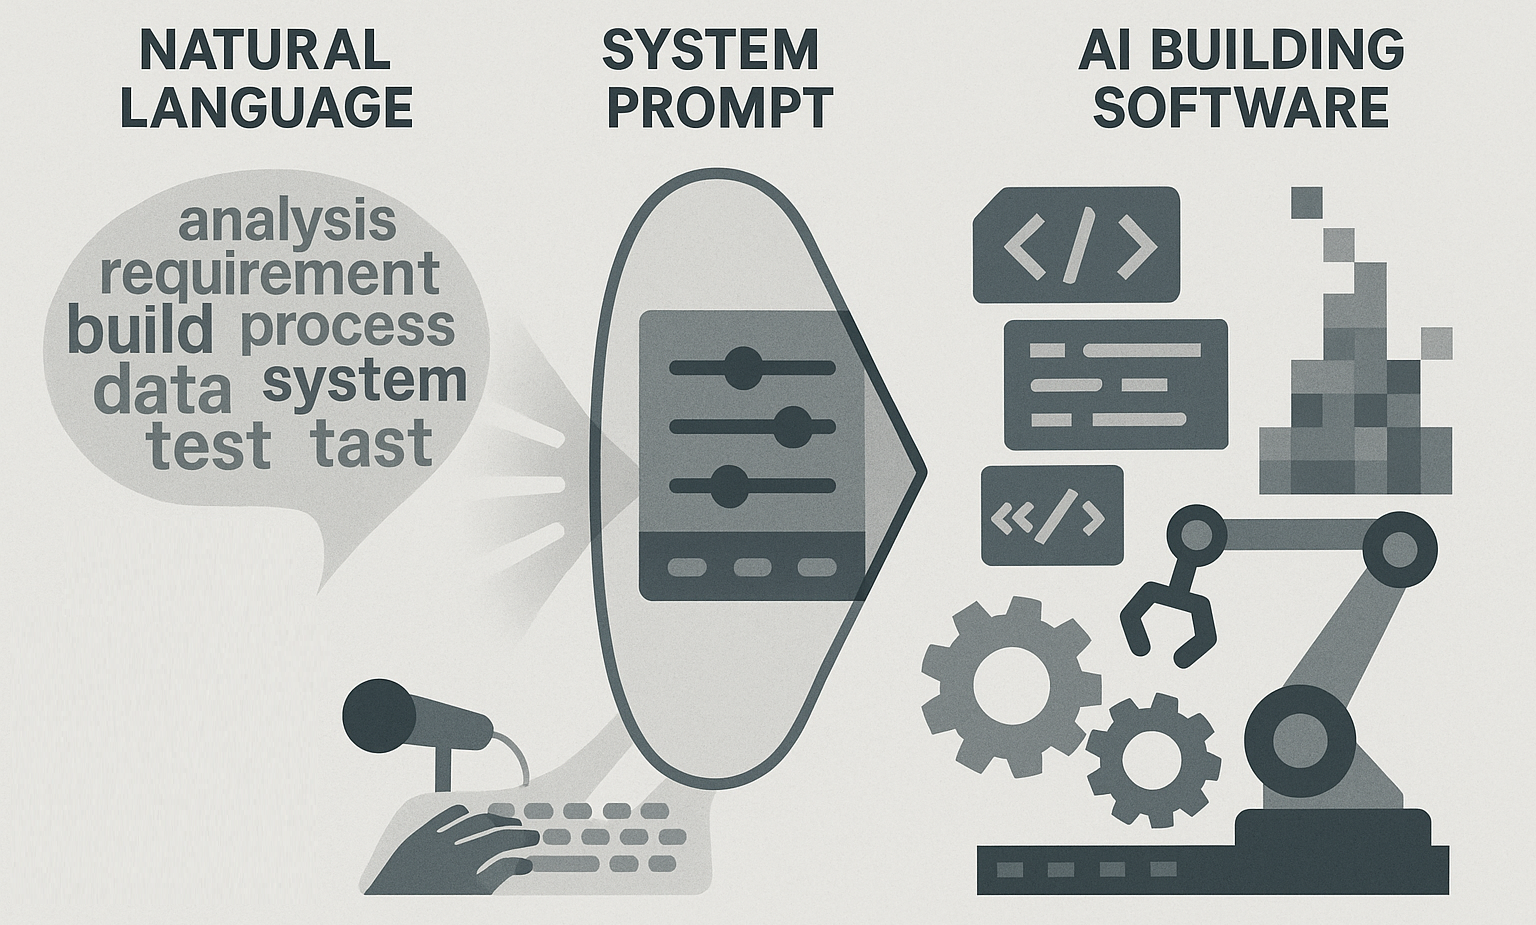
In my last post, I experimented with a few Vibe Coding tools and shared my hands-on experience. If you have been following closely, you might have noticed something subtle but important that I am using natural language as an interface. The words I choose shape how AI interprets and builds software. And behind that process lies a critical yet often overlooked layer of the system prompt.
So, What Exactly is a Prompt?
Think of Vibe Coding as a chat-driven engineering environment. Every message you send, or the prompt is not just casual conversation. It is more like writing an operating manual for your AI assistant. A prompt sets the ground rules. It can define your preferred tech stack, coding style, naming conventions, or whether the AI should ask for clarification before making assumptions. In other words, it’s your interface for aligning the AI with your intent.
 System prompt
Why Prompts Matter
From my experience, if the prompt is not clear or consistent, things can quickly go off track. Here are just a few issues I ran into when prompts were vague:
- The AI picked the wrong programming language.
- It introduced unfamiliar and sometimes unnecessary libraries.
- It ignored earlier context and gave contradictory results.
Even with advanced tools like ChatGPT, Claude, or Cursor, vagueness in instructions can lead to unpredictable behaviour. It is not about the quality of the model rather it is about the clarity of the direction we give it.
Configure System Prompts
A benefit of using most of the modern AI platforms is that they allow users to define system level prompts. You can define the prompts either globally (across entire workspace) or local (for every project). This helps maintain consistency and avoid repeating the context over and over.
I now make it a habit to start every coding session by explicitly setting the system prompt. It is like configuring your dev environment but in a conversational format.
Designing an Effective Prompt
I am still learning as I go, but I want to share a sample prompt that has worked well for me. The idea is to set clear constraints right from the start. It gives the AI less room for misinterpretation and reduces friction during the session. Here is a sample system prompt I often use:
Consider yourself a frontend developer.
All UI components should use React and Tailwind CSS.
Use JavaScript only and avoid any external libraries unless specified.
Ask for clarification if any requirement is unclear.
Focus on clean and modular code.
This prompt does a few important things:
- It defines the role of the assistant (a frontend developer).
- It sets technology boundaries—no Python, TypeScript, or surprise libraries.
- It encourages the AI to ask questions if something is ambiguous.
You can easily extend this prompt to add more context depending on your project needs. For example:
- All UI components must be accessible.
- Ensure mobile responsiveness.
- The backend is built on Java-based APIs.
This initial alignment streamlines development by cutting down on time consumption and limiting AI interactions. You can direct AI to focus according to your development approach and technology choices.
Another observation is that AI assistants demonstrate higher effectiveness when working with commonly used frameworks and tools such as React, Tailwind, and Node. These models have seen far more examples of those technologies, which means you’ll get more reliable and relevant responses.
New Developers: Don’t Overthink It
If you have been following along, the discussion so far might make it feel like you need to master a dozen concepts before you even begin with Vibe Coding. But that is not true. If you are just getting started, my advice is to set a few clear boundaries and get going. Let us take an example to create an interactive dashboard. Here is an example of a prompt that works well to start with:
I am a new developer. I want to build an interactive data dashboard. Can you suggest a tech stack that is easy to maintain and well-supported?
Most AI assistants like ChatGPT, Claude, and Gemini will then help you through your upcoming steps. The assistants will pose clarifying questions about your requirements which allows them to develop both your tech stack and system prompt.
Tools That Help You Craft Better Prompts
As I continue experimenting, I have come to realize how important the right prompt is. And the good news? You don’t have to guess. Tools like:
can help you test, iterate, and refine your prompts in real time. Below is an example of how I refined one of mine using Google Gemini.
My Prompt Refinement Process
I started with this base prompt to explore London Air Quality Data.
I want to build an interactive dashboard for exploring data located at London Air Quality Data (Excel).
Please ask me questions to better understand the requirements.
Also then help me write a system prompt that guides you to use React, Tailwind, and D3 for visualization.
If London Air Quality Data is not available at above link, I have committed a copy of it, as CSV, at the time writing this post.
Gemini asked a few smart follow-up questions about:
- what kind of visualizations I had in mind,
- the type of interactivity I expected,
- the layout preferences, and
- how I planned to handle the data source.
To narrow the scope, I directed the focus to only one sheet:
Only evaluate the ‘Monthly Averages’ sheet. Assume everything else
Based on that, Gemini helped me generate a refined system prompt that I could use to generate my dashboard. Below is the output prompt
1
2
3
4
5
6
7
8
9
10
11
12
13
14
15
16
17
18
19
20
21
22
23
24
25
26
27
28
29
30
31
32
33
34
35
36
37
38
39
40
41
42
43
44
45
46
47
48
49
50
51
52
### System Prompt:

You are an expert web development assistant tasked with building an interactive data exploration dashboard.
Your goal is to generate a detailed plan, including component structure and initial code snippets, for a React application that visualizes air quality monthly averages.

__Project Objective__
Create an interactive dashboard to explore monthly average air quality data for London, sourced from a specific Excel file.

### Core Technologies:
- Frontend Framework: React
- Styling Framework: Tailwind CSS
- Visualization Library: D3.js

### Data Source:
- __URL__: https://data.london.gov.uk/download/290a22f1-5eef-4801-8286-3f288b49093a/acce7f88-70f0-4fd0-9160-f02a9d96b2c3/air-quality-london.xlsx
- Specific Sheet to Use: "monthly averages"

### Data Interpretation & Preparation:
1. Download and parse the Excel file from the provided URL.
2. Focus exclusively on the data within the "monthly averages" sheet.
3. Identify key columns for visualization:
  - Date (or equivalent column representing the month/year for aggregation)
  - Site Name (or equivalent for location/monitoring station)
  - Pollutant (or equivalent for the type of pollutant, e.g., NO2, PM2.5)
  - Value (or equivalent for the monthly average concentration)
4. Data cleaning and transformation should include:
  - Converting date strings/numbers to valid Date objects.
  - Handling potential missing or invalid data points gracefully (e.g., excluding them from calculations or using interpolation if appropriate for visualization context, but primarily focusing on showing available data).

### Dashboard Functionality & Interactivity:
1. Data Loading: Efficiently load and parse the "monthly averages" data from the Excel file upon component mount. Use an appropriate library like xlsx (SheetJS) for Excel parsing.
2. Filters/Controls:
  - Pollutant Type Filter: Allow users to select one or more pollutant types (e.g., a multi-select dropdown or checkboxes).
  - Monitoring Station Filter: Allow users to select one or more specific monitoring stations/sites.
  - Year Filter: Provide a way to filter data by year (e.g., a dropdown for available years or a range slider if multiple years are selected).
3. Visualizations (D3.js):
  - Time Series Line Chart: The primary visualization should be a line chart showing the monthly average trend over time for selected pollutants and stations.
    -Each line should represent a combination of pollutant and station (or allow choosing a single pollutant to compare multiple stations, or vice versa).
    - Axes should be clearly labeled (e.g., "Date" on X-axis, "Concentration" on Y-axis).
  - Interactive Tooltips: On hover, display detailed information for specific data points (e.g., date, pollutant, station, exact monthly average value).
4. User Interface (React & Tailwind CSS):
  - Clean, responsive, and intuitive dashboard layout.
  - Filter controls should be easily accessible (e.g., in a sidebar or header).
  - The main visualization area should be prominent.
  - Use Tailwind CSS for all styling, ensuring a modern and clean aesthetic.

### Output Requirements:
1. A high-level React component structure (e.g., App.js, Dashboard.js, Chart.js, FilterControls.js).
2. Pseudo-code or a conceptual outline for data fetching and initial parsing of the Excel sheet.
3. An example of how a D3 line chart component might receive data and render, focusing on the integration with React and general D3 patterns.
4. Considerations for managing application state (e.g., selected filters, loaded data).
Final Thoughts
System prompts require continuous refinement as they need to match the evolving needs of your project just like we rewrite code to enhance its clarity and maintainability. Your prompts should evolve to match your project’s development to reflect:
- new tools or stack changes,
- updated coding patterns or style guides,
- and shifts in architecture or design decisions.
A good prompt is more than basic instructions to your assistant. You can consider it as a design contract between you and your AI assistant. In my next and final post I will continue to discuss how to further fine tune the prompts.
My suggestion for now is not to stress too much about getting it perfect the first time. Start simple, iterate, and treat your prompt like part of the engineering process where your intent meets implementation.